
This weekend I sought out to make Challah. Challah is a special Jewish braided bread eaten on Sabbath and holidays. I chose to make the three-braid variation (there is also a 6 braid variation in my text book). I was excited for this recipe because I've seen Challa on Food Network before, but I've never eaten or made it.
As always, I quartered the recipe:
Bread Flour 21oz
Instant Dry Yeast 0.25oz (which happens to be one packet!)
Water 8oz
Egg Yolks 4oz (this worked out to about 6 egg yolks)
Vegetable Oil 2oz
Sugar 2oz
Salt 0.4oz
Bread Flour for dusting
Yolks Only Egg Wash (equal parts egg yolk, milk and a dash of salt)

The flour and yeast are mixed in one bowl, and the remaining ingredients are put into the mixer bowl, then I added the flour yeast mixture to the wet ingredients and mixed on low for 4 minutes, then increased the speed to medium for another 4 minutes with the dough hook attachment. The dough was firm and smooth, not sticky (thank goodness)!
My lovely dough went into my rising bowl to bulk ferment for an hour.I covered the dough ball loosely with some saran wrap and went to fold some more laundry and load the dishwasher.

After an hour, I gave the dough a gentle fold and divided it into 156g pieces. This was tricky, add a little, take a little away...I'm super anal retentive and a pharmacy technician. I wanted each piece to be exactly 156g, so this might take you considerably less time than it took me!
Then the dough pieces needed to be pre-shaped into small oblongs.
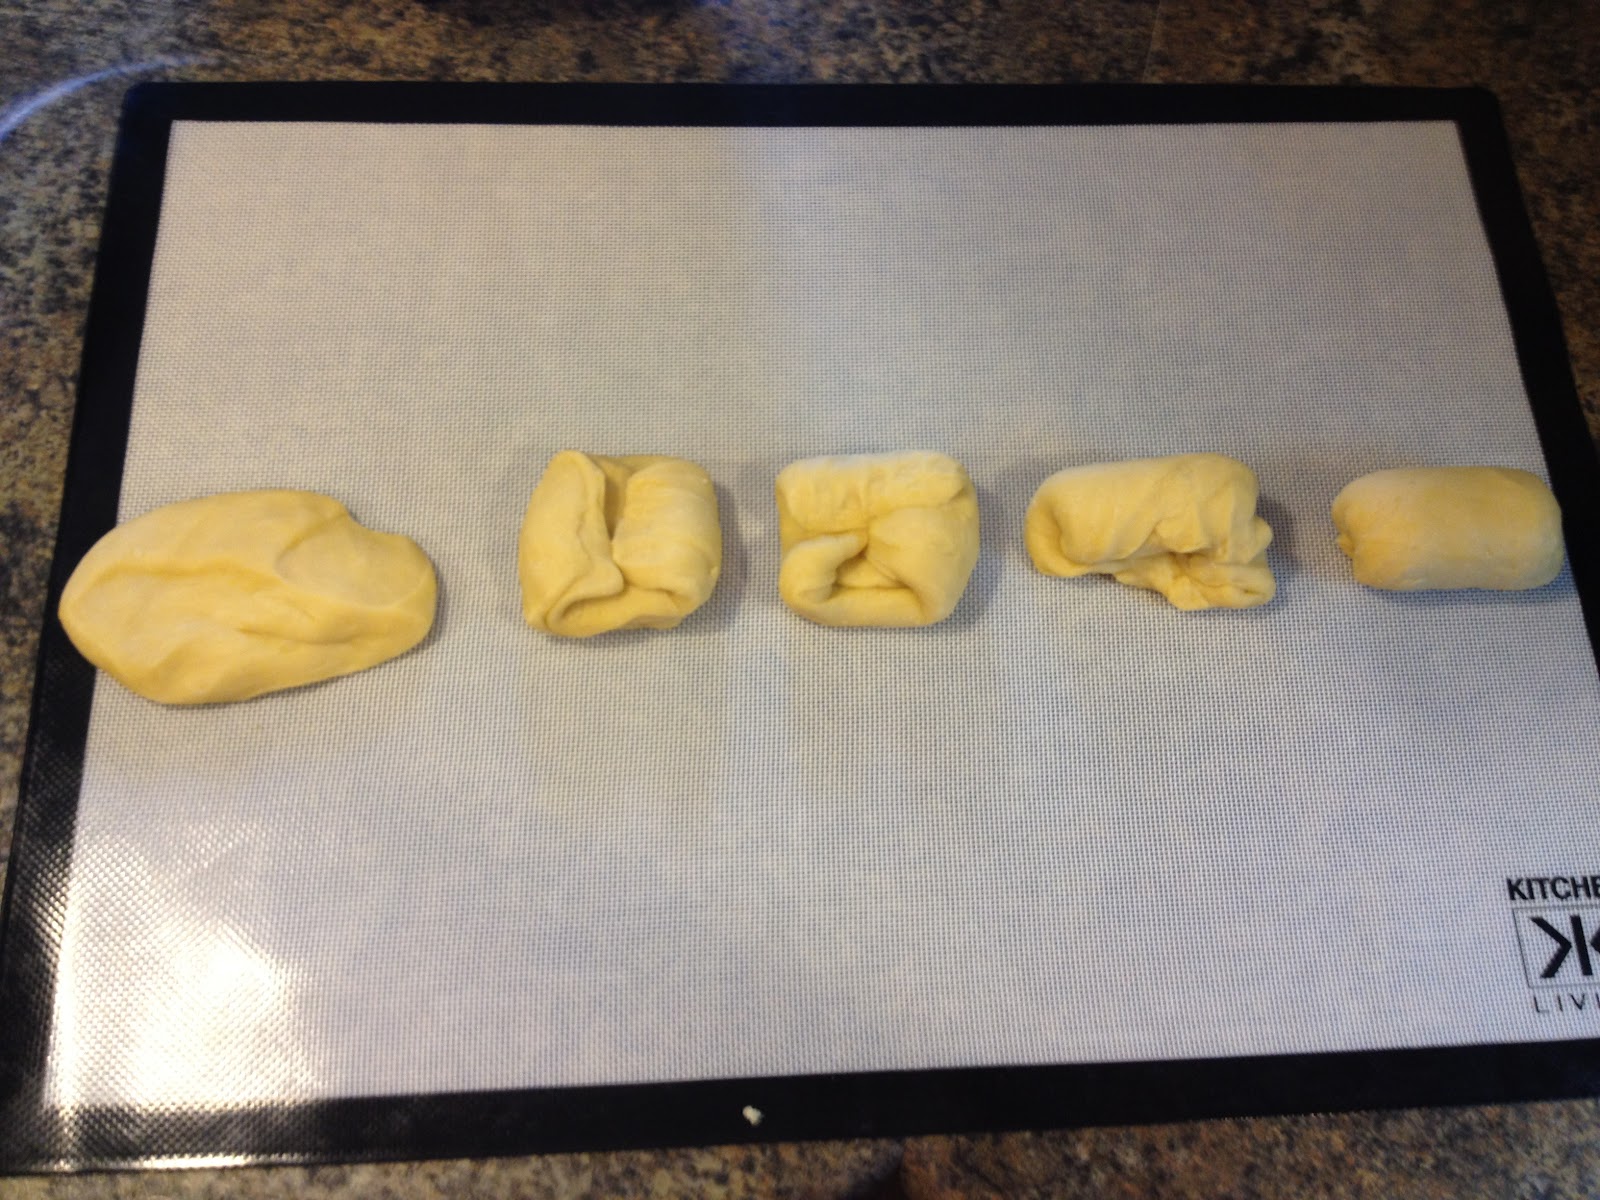
Now, we rest...again. Cover lightly with a tea towel and go take a walk for about 10 minutes.
Once rested, fold the dough oblongs over into thirds and start to make your ropes!

This was fun, but harder than you think! The dough ropes tend to spring back and shrink...once I would roll one out to a foot long and set it aside to start on the next one, I would look back and have a 10 inch rope, so make them longer than what you really need!
The directions didn't say to do this, I just thought it looked cleaner, so I hacked off the ends with my dough blade to make everything even...again, anal retentive!

Now to braid the bread. I lightly dusted my dough ropes in flour to keep them dry for braiding. You would think that you would pinch the dough together at the top and braid like you would hair, from root to tip. Nope! We start braiding in the middle, flip the braid around and finish the braid, pinching the ends to seal.

I put the dough braids onto a parchment lined baking sheet and gave them a light little brushing of egg wash and let the braids proof, covered about one hour. I've found the best way to proof dough is to start up my oven at about 100 degrees for a few minutes, then shut it off and put the dough in to proof. This way the dough stays nice and lukewarm and doesn't get too cold in my air conditioned kitchen!
Once proofed, I added another careful brushing of egg wash and threw these beauties into a 375 degree oven for about 20 minutes. I took them out once they were a lovely shiny, dark golden brown. And...a shocker! I actually let the bread cool completely before slicing! Check it out:


I was so pleased to have this turn out so well!! This is probably the crowning jewel of my blogging baked goods! The bread was perfect! Nice little pockets on the inside, tasty and a beautiful color!
Final verdict, I will be making this again! We toasted some up with butter and garlic and had it with lasagna for dinner and loved it! I think this would also make a fantastic french toast!
No comments:
Post a Comment